

Reset your GFCI outlet only after you shut off power and confirm wires and devices are dry; you should test and press the reset button to restore power safely, but stop immediately if you detect sparking or persistent trips because of the risk of electrical shock or fire, and call a qualified electrician for any fault you cannot isolate.
GFCI Basics
How GFCIs work: the principle and safety role
You rely on a GFCI to sense any difference between the hot and neutral currents and interrupt power far faster than a standard breaker. The device trips when it detects an imbalance around 4-6 mA, cutting fault current in milliseconds to reduce shock risk. After you press the TEST button monthly, you confirm the unit’s internal sensing and trip mechanism are still functional.
- 4-6 mA trip threshold
- TEST button
- hot/neutral differential
- millisecond response
Key factors that affect GFCI performance
You must evaluate environmental and wiring conditions because moisture, corrosion, and dirty contacts raise leakage currents and cause failures or nuisance trips. Wiring mistakes like a shared neutral or incorrect line/load connections will prevent proper sensing, and heavy motor starts can create transient imbalances. After you inspect for these issues and log frequent trips, you can decide whether cleaning, rewiring, or replacement is needed.
- moisture
- shared neutral
- line/load wiring
- motor starts/transients
You should note specific examples: outdoor GFCIs exposed to splashback often fail from oxidized terminals, while kitchen circuits with multiple appliances see transient leakage during motor startup; manufacturers commonly advise testing monthly and many recommend replacement after 10 years if performance degrades. Device age, number of load cycles, and accumulated contamination all reduce sensitivity and increase false trips. After you track these metrics, prioritize units in wet locations or high-use circuits for immediate service.
- outdoor exposure
- 10-year replacement guidance
- terminal corrosion
- usage cycles
Safety Preparations
Essential safety tips before attempting a reset
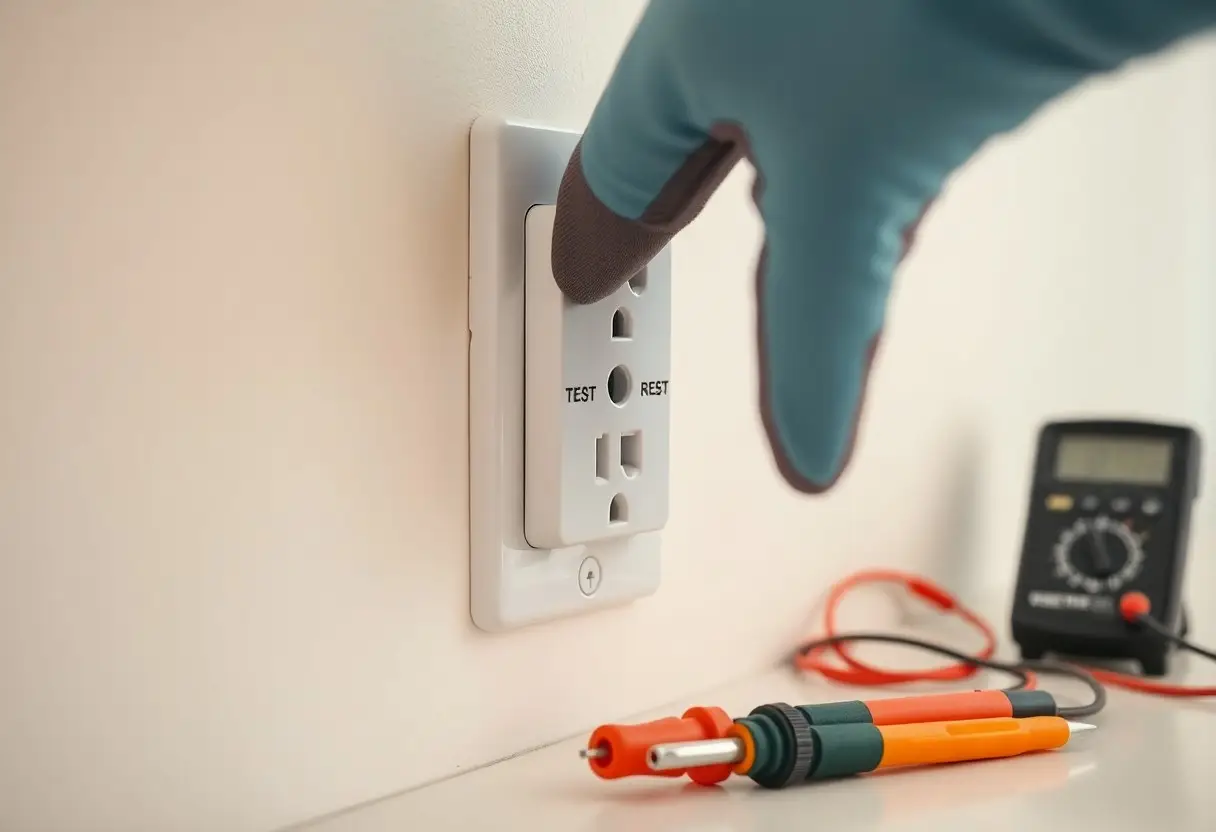
Before you touch the outlet, switch off nearby appliances and unplug devices to reduce load and remove shock paths; wear insulated gloves and eye protection when exposure is possible. Use a non-contact voltage tester to confirm the area is de-energized, and avoid working with wet hands or while standing on a damp surface. Recognizing burn marks, buzzing noises, or a warm GFCI faceplate means you should stop and call a qualified electrician.
- Switch off the breaker that controls your GFCI.
- Verify de-energized with a non-contact voltage tester or outlet tester.
- Use insulated gloves and stand on a dry, non-conductive mat.
- If you find damage (cracks, scorch marks), do not reset and call a pro.
Tools, checklist, and verification steps
You should gather a non-contact voltage tester, a flat and Phillips screwdriver, an outlet tester or GFCI tester, and insulated gloves. Follow a short checklist: 1) shut off the breaker; 2) verify zero voltage; 3) press the GFCI reset button; 4) confirm restored 120 V and correct wiring with the outlet tester.
When you test, use the non-contact tester first-hold it near the hot terminal and treat any beep as live. An outlet tester will identify open neutral, open ground, or reversed polarity via its light pattern; consult the tester chart to interpret results. If you measure ~120 V at the line but no power on the load side, expect a loose feed-through connection. Note that GFCIs typically trip at about 4-6 mA, so persistent nuisance trips suggest wiring faults or shared neutrals. If the device won’t reset or you detect unexpected voltages with the breaker off, stop work-this indicates backfeed or mislabeling and you should contact an electrician; use a digital multimeter for definitive line-to-neutral and line-to-ground readings before and after any reset.
Step-by-Step Reset Procedure
Reset Steps
| Step | Action |
|---|---|
| 1 | Unplug all devices on the affected circuit and switch off nearby fixed loads (e.g., garbage disposal). |
| 2 | Press the GFCI’s RESET button firmly until you feel a click; do not force if it won’t latch. |
| 3 | Use the built-in TEST button or a plug-in GFCI tester to verify operation; GFCIs trip at ~4-6 mA. |
| 4 | Restore one device at a time, noting any that cause immediate tripping. |
| 5 | If the outlet won’t reset or trips repeatedly, switch the circuit breaker off and call a licensed electrician. |
How to safely reset a GFCI outlet, step by step
You should unplug all appliances first, press the RESET button until it clicks, then test the outlet using its TEST button or a plug-in GFCI tester; verify wiring LEDs indicate correct polarity. If the button won’t stay set or the tester shows a fault, turn off the breaker and stop-do not attempt internal repairs. Many GFCIs trip at about 4-6 mA, so a quick test confirms protection is restored.
What to observe immediately after resetting
After reset, check that power is restored to lights and receptacles, verify the GFCI button remains latched, and use a tester to confirm proper wiring; watch for repeated trips within 10 seconds, buzzing, warm outlets, or a burning smell-any of those indicate a persistent fault and potential shock or fire risk. If an appliance causes the trip, leave it disconnected and isolate the fault.
For example, if a dishwasher trips the GFCI as soon as you reconnect it, the appliance likely has moisture-related leakage; similarly, hair dryers often trip if used with wet hands. You can narrow issues by reconnecting loads one at a time and using a tester to see which connection produces fault indications. Persistent immediate tripping or hot/charred receptacles requires you to turn off the breaker and contact a professional electrician.
Troubleshooting and Common Issues
Diagnosing why a GFCI won’t reset or won’t hold
If your GFCI won’t reset or won’t hold, first unplug all devices downstream and press RESET firmly; GFCIs typically trip at about 5 mA. Check the upstream breaker (commonly 15A or 20A) and use a multimeter to confirm ~120 V between hot and neutral. Look for loose neutrals, shared-neutral multi-wire circuits, moisture, or a faulty appliance causing a ground-fault; a persistent trip after unloading points to wiring or a failed device rather than the load.
Safe remedial actions and when to call an electrician
You can safely unplug loads, dry the area, and reset the breaker, but always shut off power at the breaker before removing a receptacle. If the GFCI won’t reset after removing loads, emits a burning smell, has a hot faceplate, or shows exposed or charred wiring, do not touch and call a licensed electrician; persistent trips or shared-neutral complexities often require professional diagnosis.
When replacing a GFCI yourself, first turn off the correct breaker and verify no voltage with a non-contact tester and multimeter showing 0 V. Note and label LINE vs LOAD, because swapping them prevents reset and can damage the device; tighten screws per manufacturer spec, restore power, use the built-in TEST/RESET and a GFCI tester to confirm proper protection. If you’re unsure about wiring or test results, call an electrician.
Final Words
As a reminder, when you reset a GFCI you should first disconnect devices, dry your hands, and shut off power at the breaker if possible; press the RESET button firmly until it clicks and then test the outlet with a GFCI tester or a plugged-in device. If it trips repeatedly, shows physical damage, or you are unsure, stop and contact a qualified electrician; do not bypass or use makeshift fixes that compromise safety.