
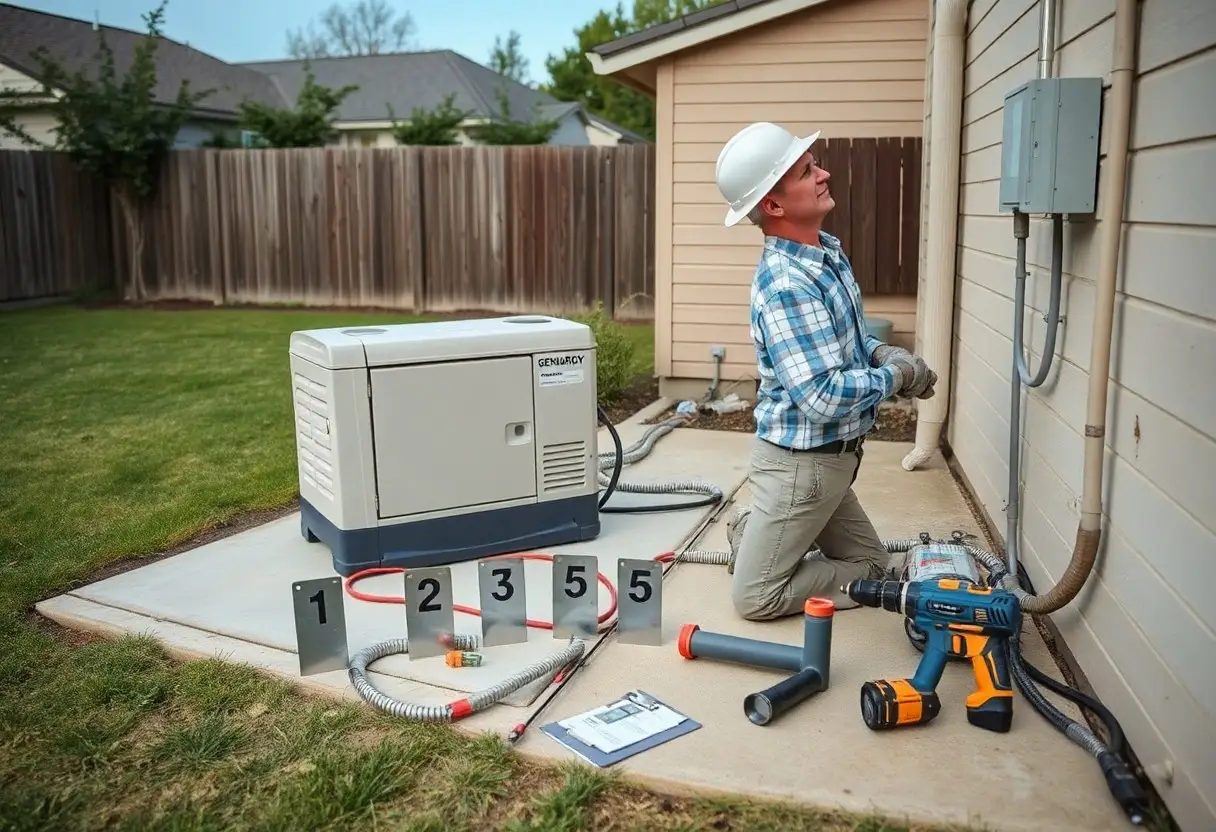

Many homeowners plan for outages, but installing a generator yourself can expose you to electrical and carbon monoxide dangers unless you follow safe steps. This guide shows you five simple actions to secure reliable backup power, position equipment, wire the transfer switch, and test systems, while advising when to hire a licensed professional so you protect your family and property during outages.
Step 1 – Assess power needs & plan
Begin by deciding whether you want whole‑house standby or selective circuit backup; a 5 kW portable will run basics while a 12-20 kW standby covers HVAC and large loads for a 1,800-2,500 ft² home. You should map imperative circuits, estimate running and starting watts, and size the transfer switch-oversizing or under sizing risks equipment damage or failure. Factor fuel type, installation footprint, and a realistic budget early to avoid surprises during permitting and hookup.
Conduct a load audit: imperative circuits, wattage and run-time
Start with a circuit-by-circuit list: refrigerator ~700W running, 1,200-2,000W starting; sump pump 800-2,500W start; electric furnace or heat pump 3-5 kW; microwave 1,000-1,500W. You should total continuous loads and add starting surges to pick a generator with adequate peak capacity. Apply the NEC practice of sizing generators so continuous loads do not exceed 80% of rated capacity, and estimate run-time in hours to size fuel storage or delivery frequency.
Permits, local codes, site survey and budget planning
Check with your local building department and the Authority Having Jurisdiction (AHJ) for permit requirements, inspections, and code references like the NEC and NFPA standards. Expect permit fees commonly in the $50-$500 range and site constraints such as setback and fuel‑storage rules; skipping permits or violating clearances can void insurance and create safety hazards. Budget for inspections, contractor fees, and possible upgrades to your service panel or gas line.
Contact the utility and AHJ early for interconnection rules and to see if an interlock or automatic transfer switch (ATS) approval is required; utility notification often takes 1-4 weeks. Arrange a site survey for pad location, exhaust clearance and noise setbacks, and have licensed trades (electrician for ATS, plumber for gas/propane) provide quotes. Typical installed costs run from about $6,000 for a 10 kW standby to $15,000-$20,000 for a 20 kW system with ATS and hookup; plan a 2-6 week permit-to-complete timeline and include contingency for unexpected service upgrades.
Step 2 – Choosing the right generator
You need a generator that matches your load, installation constraints and safety plan; assess your necessary circuits, decide between portable or standby, and factor in transfer switch requirements and local codes. Hire a licensed electrician for wiring and permitting because improper hookup risks fire and deadly carbon monoxide. For operational guidance consult How to Use a Generator Safely – 6 Steps before finalizing your purchase.
Sizing: portable vs standby, kW calculations and redundancy
If you only need lights and a fridge, a portable 3-8 kW unit may suffice; whole-house systems commonly run 16-22 kW. Add motor starting watts (HVAC compressors often need +3,000-6,000W surge) when totaling loads. You should size for continuous kW plus starting peaks, and consider redundancy-two 10 kW units can provide N+1 protection and easier staged starts compared with one large unit.
Fuel types: propane, natural gas, diesel, gasoline – pros and cons
Propane offers long-term tank storage and clean burning, natural gas gives unlimited supply if utility stays, diesel provides high energy density for long runtimes, and gasoline is cheap and widely available but has poor shelf life; weigh availability, runtime, emissions and storage hazards (flammability, spills) when choosing fuel for your location and outage profile.
Fuel Comparison: Pros and Cons
| Propane | Clean, long shelf life in pressurized tanks; requires tank installation and slightly lower energy density than diesel. |
| Natural Gas | Continuous supply during many outages if lines stay up; vulnerable if utility gas is interrupted or pressure drops. |
| Diesel | High energy density, robust for heavy loads; needs on-site storage, periodic fuel treatment, and more emissions. |
| Gasoline | Easy refuel and cheap per gallon; short shelf life (~3 months untreated) and high fire risk for storage. |
| Notes | Choose based on availability, storage, runtime and emissions; confirm local codes for on-site tanks and exhaust placement. |
You should plan fuel logistics: expect a portable generator runtime of 8-12 hours on a full tank at half load, diesel standby units often run multiple days with proper storage, propane holds indefinitely in tanks, and natural gas eliminates refueling. Factor in maintenance-diesel filters and fuel polishing, gasoline stabilization, and periodic exercise cycles-to keep your system reliable.
Fuel Comparison (Operational Focus)
| Propane | Low maintenance, good for seasonal use; burners may need adjustment and LPG lines must meet code. |
| Natural Gas | Convenient auto-start standby systems; verify meter/line sizing to handle generator demand. |
| Diesel | Best for continuous heavy loads and grid independence; requires cold-weather management and spill precautions. |
| Gasoline | Suitable for short-term portable use; store in approved containers and add stabilizer for longer storage. |
| Decision Tip | Prioritize fuel reliability for your region (e.g., diesel in long outages, natural gas where lines are robust). |
Step 3 – Site selection and physical installation
Placement, clearances, mounting, and weather protection
When dicking out placement, you should allow a minimum 3 ft clearance on sides and 5 ft from doors/windows per most manufacturer and code guidance. Mount the unit on a level, reinforced 4 in concrete pad or approved steel skid anchored with expansion bolts. Orient exhaust away from openings and position the generator on the raised pad to avoid standing water. If you install under a shelter, use a weatherproof-rated enclosure (NEMA 3R/4) and ensure ventilation and maintenance access.
Grounding, vibration isolation, noise mitigation and conduit routing
You must bond the generator frame to the site grounding system with a continuous conductor; many installations use an 8 ft copper-clad ground rod driven and bonded with a minimum #6 AWG copper conductor (check local code). Install neoprene or spring isolators under mounts to reduce structural transmission, and add acoustic barriers or absorber panels to cut noise by 5-10 dB. Route conduits with gentle sweeps, use weather-rated fittings, and separate control wiring from power cables to avoid interference.
For larger systems you’ll often see two 8 ft rods spaced about 6 ft apart and a #4 or #6 AWG bonding conductor sized to the generator kW; verify exact sizing with an electrician. Choose elastomeric mounts that allow 1/4-1/2 in deflection-installers report up to 80% reduction in transmitted vibration-while masonry or 3 ft tall acoustic barriers commonly reduce audible output by 5-10 dB. When running conduit, minimize joints, use appropriately rated PVC or metal conduit for exposure, and fully seal junctions to prevent moisture ingress and corrosion.
Step 4 – Fueling, ventilation and emissions safety
You must control fuel, airflow and exhaust together: store fuel in approved containers, transfer using pumps and bonded lines, and route exhaust away from openings so carbon monoxide (CO) can’t accumulate. For example, keep portable gasoline cans to 5 gallons, stop fills at 95% to allow expansion, and size ventilation to the generator’s required CFM (a 20 kW set often needs several hundred CFM). Follow the manufacturer’s specs and local code for clearances and alarms.
Safe fuel storage, transfer procedures and spill prevention
Use only UL‑approved cans or listed above‑ground tanks, store them in a ventilated, locked shed away from living areas, and provide secondary containment sized for the tank volume. When transferring, use a pump or automatic shutoff nozzle, bond and ground portable transfers to prevent static, and stop filling at 95%. Keep an accessible spill kit (absorbents, neutralizers) and document transfers; a single gallon spilled on a concrete pad can spread fuel into landscaping and drains.
Exhaust routing, CO prevention, ventilation and setback requirements
Direct exhaust so it discharges away from doors, windows and fresh‑air intakes-many installers keep it at least 3-5 ft from openings-and never run generators in enclosed spaces like garages. Install battery‑backed CO alarms (UL 2034) outside sleeping areas and on every level, and size ventilation openings per the manufacturer’s airflow data to prevent overheating or backpressure that raises emissions.
For installations, run stainless or manufacturer‑approved exhaust piping with sealed joints and a slight downward slope to drain condensate; if you extend the outlet, angle it so fumes disperse horizontally or downward and avoid pointing toward neighboring houses. Test CO alarms monthly, record operating hours and exhaust inspections, and have an HVAC or generator pro verify backpressure and emissions during commissioning to keep levels within the unit’s EPA and manufacturer limits.
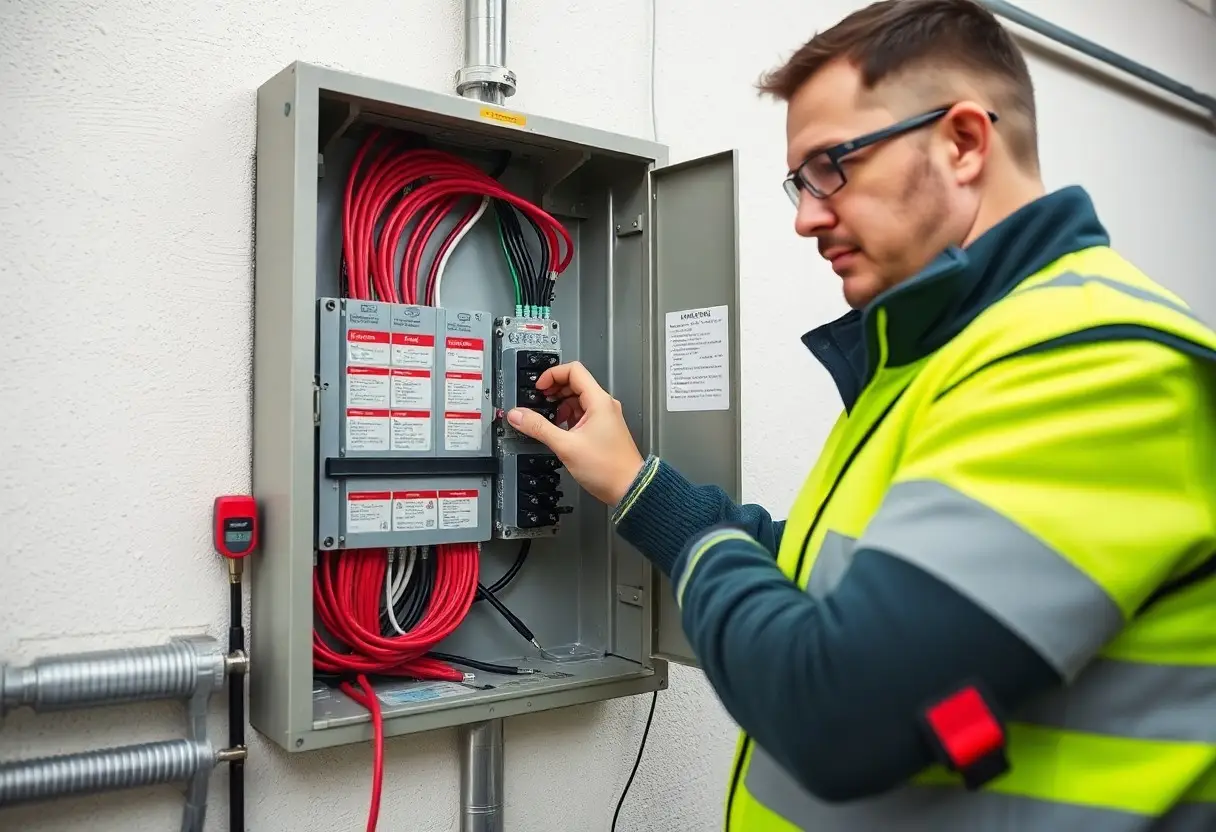
Step 5 – Transfer switch and electrical connections
Select a transfer switch sized to match your generator and service – common ratings are 100A, 150A or 200A – and size conductors accordingly (200A often uses 4/0 Al or 2/0 Cu). Mount the switch in a weatherproof location, maintain proper grounding and bonding, run conduit with correctly sized lugs, and torque to manufacturer specs. Compliance with UL 1008 and NEC Article 702 avoids dangerous backfeed and inspection failures.
Manual vs automatic transfer switches, load management and interlocks
An automatic transfer switch (ATS) senses outage and transfers in about 3-10 seconds; manual switches require you to start the generator and flip the switch. ATS units cost roughly $800-$3,000, manuals about $400-$1,200. Use load-shedding modules or a smart subpanel to prioritize HVAC, well pumps, and imperatives. Mechanical interlocks or service disconnects prevent parallel connection – because backfeed can electrocute utility crews.
Hiring a licensed electrician: wiring, meter work, inspections and code compliance
Your meter socket, service disconnect and final wiring must be handled by a licensed electrician and coordinated with the utility; permits and inspections are required. Expect local electrician rates of about $50-$120/hr and permit fees commonly $50-$300. Let professionals do meter work – unsafe or unpermitted meter edits are illegal and deadly and will fail inspection.
Verify the electrician’s license, insurance and references, and get a written scope that includes permit pulls, utility notification, load calculations per NEC 220, and transfer switch sizing to UL 1008 standards. Confirm they’ll provide as-built wiring diagrams, torque lug documentation, schedule the municipal inspection, and perform a full startup and load test; many installations take 4-8 hours or up to two days if service upgrades are needed.
Commissioning, testing and maintenance
Pre-start checklist, initial commissioning and load testing
You should perform a pre-start checklist: inspect oil (top up to manufacturer spec), coolant, fuel lines, air filter, and battery voltage (>12.6 V for 12 V systems). Verify grounding and tighten lug torque per manufacturer (typical 20-60 ft·lb). Start no-load for 15-30 minutes to reach operating temperature while monitoring oil pressure (20-60 psi), coolant (keep under 95°C/203°F) and frequency within ±0.5 Hz. Then do load-bank testing at 25-50% for 60 minutes, with a step to 100% for 10-15 minutes if allowed. Use PPE; exhaust emits carbon monoxide and surfaces are hot.
Routine maintenance schedule, troubleshooting and record-keeping
You should set a routine: weekly visual inspections, monthly exercised runs under load for 30 minutes, and oil/filter changes every 200-250 hours or annually. Check fuel and air filters quarterly, replace batteries every 3-5 years, and log hours, loads, voltages, alarms, and parts replaced in a service book or digital system. Use a clamp meter and thermal camera for diagnostics. For electrical faults, do not perform live work; engage a licensed electrician for ATS or wiring repairs.
When troubleshooting you should isolate symptoms precisely: no-crank points to battery or starter-measure terminal voltage (<12 V indicates battery problem); repeated low-oil shutdowns often mean leaks or overdue oil service; overheating usually results from blocked radiator fins or failing water pump-clean fins and test coolant flow. Keep spares (oil filter, belts, fuses, dielectric grease) and a basic tool kit; one homeowner restored service within hours by cleaning corroded battery terminals and swapping a clogged fuel filter. Maintain detailed records to support warranty, code compliance and insurer claims.
Conclusion
Taking this into account, when you follow the five simple steps you ensure reliable backup power and protect your home and family-you obtain proper permits, select the right generator, install per code or hire a licensed electrician, use a correct transfer switch and ventilation, and maintain and test your system regularly so your generator performs safely when you need it.